Early access · Release date: October 7, 2019
UpdatedMX Bikes Crashing When Loading Into Track: Fix Guide
MX Bikes crashing when loading into track? Isolate broken mods, repair OEM tires, reset old setups, and test a clean installation without losing backups.
Jump to
Start With a Stock Bike and Track
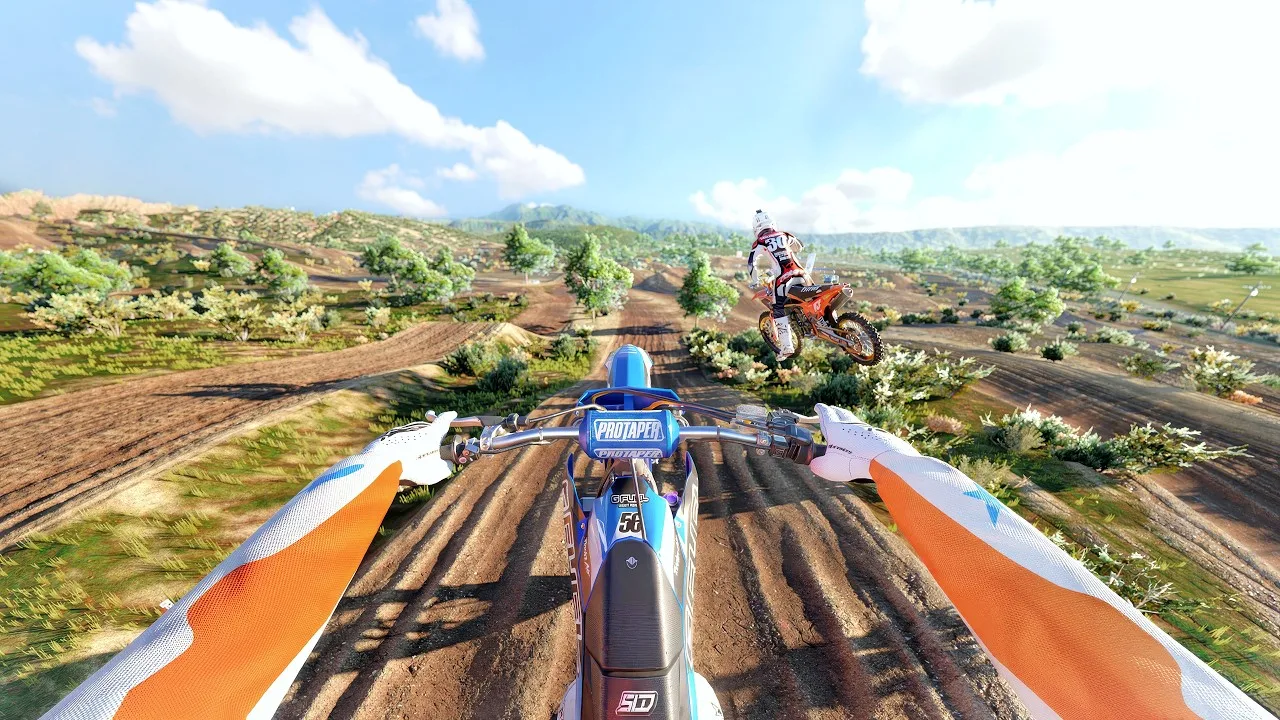
Dealing with MX Bikes crashing when loading into track? Start by testing a stock bike on a stock track in Testing, then isolate your mods, saved setups, and plugins. This gives you a useful starting point before another reinstall brings back the same troublesome files.
Restart your PC, then verify the game installation:
- Right-click MX Bikes in your Steam library.
- Open Properties > Installed Files.
- Select Verify integrity of game files.
- Let verification finish before launching again.
Next, compare where the crash happens:
- One downloaded track crashes: Temporarily set that track aside and test a stock track.
- OEM bikes crash while stock bikes work: Check the bike pack and its tire files.
- The pits load, but clicking Go to Track crashes: Test the bike’s default garage setup.
- Large tracks crash during loading: Check available memory.
Back up files before moving them. Change one thing between tests so you can identify which change affects the crash.
Official page: MX Bikes (mx-bikes.com)
Repair OEM Bikes and Their Tire Files Together
If stock bikes work but OEM bikes crash just after entering the track or trying to move, inspect the OEM installation and its tire dependencies.
The user-data tire folder is:
Documents\PiBoSo\MX Bikes\mods\tyres\
Keep the folder spelling tyres, even though you normally write “tires.” Files placed in the wrong directory can leave a bike without the content it needs.
To test a clean OEM installation:
- Close the game.
- Back up the existing OEM bike files and associated tire files outside the active mods folder.
- Install the full OEM pack compatible with your game version.
- Follow that pack’s folder structure and instructions for required tires or patches.
- Test an OEM bike on a stock track before restoring other mods.
Avoid mixing leftover tire files with a replacement pack. If the bikes disappear from the selection menu after extraction, check the destination and folder structure before launching another test.
Keep compatibility advice tied to its version. Beta21e, released June 10, 2026, added support for tire selection. Older beta19 tire-update instructions should not determine which files you install for a newer build.
Reset the Garage Setup if Leaving the Pits Causes the Crash
A crash after clicking Go to Track deserves a different test from a crash halfway through loading a large map.
Saved setups from an older game build or a different version of a bike mod can contain incompatible values. In the garage, select the bike’s default setup, then try entering the track again.
If the default works, rebuild your adjustments rather than loading the old setup again.
Setup files are stored beneath your profile:
Documents\PiBoSo\MX Bikes\profiles\
Open your profile’s folder, then its setups folder. Back up any setup you want to preserve before removing it. You can also select an unwanted setup in the pits and use Delete.
Check Memory While Loading Large Mod Tracks
Modded tracks can require considerably more RAM than stock tracks. If a small track loads successfully but a large downloaded track closes the game during loading, watch memory use during the attempt.
- Press Ctrl + Shift + Esc to open Task Manager.
- Open the Performance tab and inspect memory usage.
- Close browsers, Discord, and other unnecessary background applications.
- Load the problem track again while monitoring RAM.
Heavy modded sessions can push total system RAM usage into the 12–16 GB range, so a PC with 16 GB still needs room for background applications. If memory reaches capacity as the game closes, reducing background usage is a practical next step.
Try lowering resolution if your graphics settings are demanding for your hardware. Use the stock-track test alongside these changes: a track-specific failure and a failure across every stock combination call for different troubleshooting.
Temporarily Remove Third-Party Plugins
Test without third-party plugins before resetting the entire installation. The Steam installation’s plugin directory is:
steamapps\common\MX Bikes\plugins
Move added plugins into a backup folder outside the installation. Preserve the bundled files:
proxy64.dloproxy_udp64.dloxinput64.dlitelemetry64.dlo
If you use MaxHUD, temporarily move both MaxHUD_data and MaxHUD_MXB64.dlo out of the plugins directory.
Launch the game and repeat the same bike-and-track test. If it works, restore plugins individually, testing after each addition. Leave the plugin that brings back the crash disabled while you resolve its installation or compatibility requirements.
Create a Fresh User-Data Folder
Steam verification repairs the base installation, but your mods, profiles, and settings also live in Documents. Reinstalling the game can therefore leave the original problem in place.
To test fresh user data without deleting your existing files:
- Close MX Bikes.
- Open
Documents\PiBoSo\. - Rename the
MX Bikesfolder to a recognizable backup name. - Launch the game so it creates a new
MX Bikesfolder. - Test a stock bike and stock track before copying anything back.
The default rider, bike, and settings help you recognize that the fresh user data is active.
If the crash disappears, restore content in small groups. Test after restoring settings, bike packs, tracks, or other additions. Copying the entire backup back at once can restore the same fault and erase the value of the clean test.
Replace the Installation Folder if Verification Does Not Help
For a more complete reset, rebuild the Steam installation folder as well as testing fresh user data.
- In Steam, right-click MX Bikes and choose Manage > Browse local files.
- Close the game and rename its installation folder, keeping it as a backup.
- Return to Properties > Installed Files > Verify integrity of game files.
- Allow Steam to download replacement files.
- Launch the rebuilt installation with fresh user data and test stock content.
Keep third-party plugins out during this test. Restore them only after the untouched installation loads a track successfully.
This approach preserves the old installation while giving you a separate, clean folder to test.
Capture the Error if Stock Content Still Crashes
If a fresh installation and fresh user data still crash with stock content, collect the Windows error details before changing more files.
Open Event Viewer, go to Windows Logs > Application, and find the error recorded around the crash time. Note the Faulting module name and Exception code.
When asking for help, include:
- Whether the crash happens during loading, after clicking Go to Track, or when moving.
- The bike and track involved.
- Your game build, installed mods, and plugins.
- Your PC specifications and memory behavior during loading.
- The faulting module, exception code, and results of the clean stock test.
Those details give the next troubleshooting step a concrete target.
Popular pages
MX Bikes Model Swap: Install Guide and Paint Fixes
Install an MX Bikes model swap with the right bike folder, match paints and exhausts, and fix missing models or stretched graphics before your next ride.
MX Bikes Account: Sign Up for Mods and Online Racing
Set up your MX Bikes account for mod access and championship sign-ups. Learn which login to use, how to confirm your email, and how to register for races.
MX Bikes Map Mod: How to Install Tracks and Freeride
Find an MX Bikes map mod, install custom tracks in the right folder, and fix loading issues. Explore motocross layouts, compounds, and freeride terrain.
MX Bikes Demo: Download, PC Requirements, and Setup
Try out the MX Bikes demo on Windows. Find the download, compare PC requirements, set up your controller, and learn smoother starts, corners, and jumps.
Join the community
Official channels for news, updates and player help: