Early access · Release date: October 7, 2019
UpdatedMX Bikes Setups Guide: Controller Settings That Help
Use this MX Bikes setups guide to tune controller inputs, braking, rider aids, and camera settings. Build smoother laps with focused beginner adjustments.
Jump to
Start With a 250F and Predictable Controls
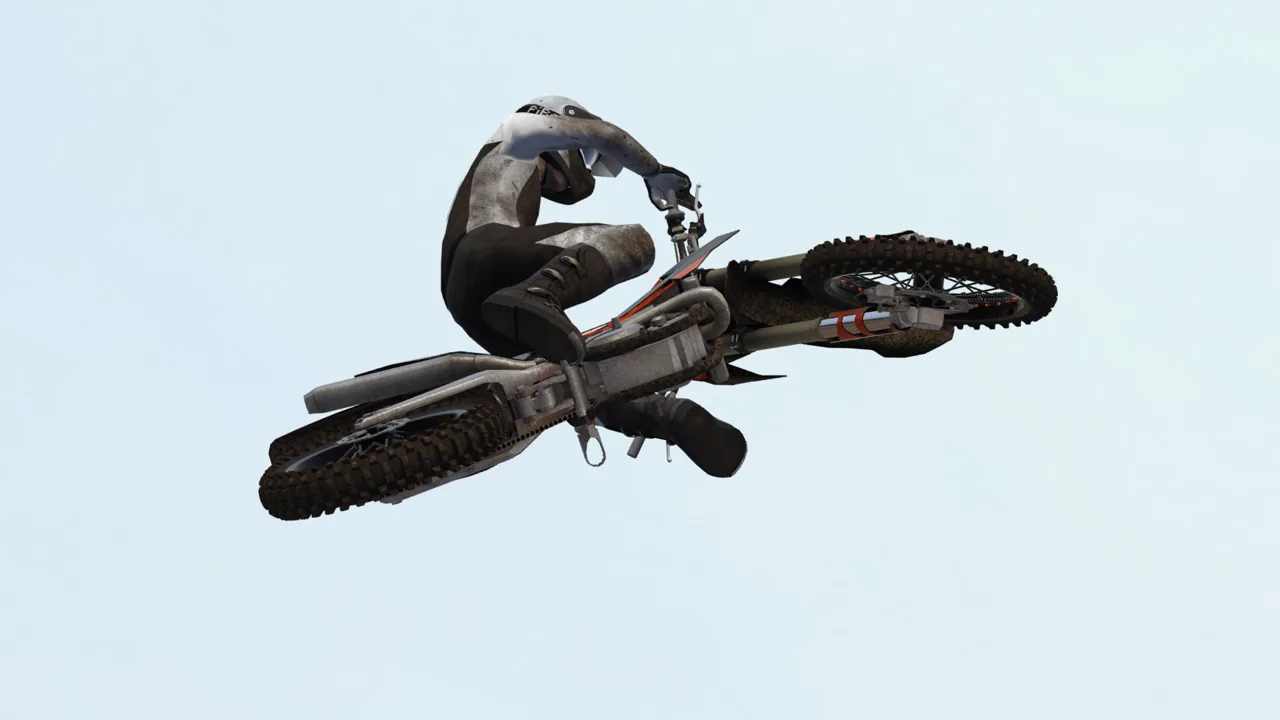
A twitchy controller can turn every corner into a recovery attempt. This MX Bikes setups guide starts with controller response, braking, and rider movement so you can build consistent laps. Pick a 250F, load a beginner-friendly practice track in Testing, and get comfortable before moving to a 450.
The 250F is the more manageable starting choice because the 450’s power makes throttle mistakes harder to control. Keep the same bike and track while adjusting inputs so you can feel what each change does.
Start with the main controls in Input 1, then work through shifting and sitting in Input 2. Leave suspension experimentation until you can accelerate, brake, and follow a corner without fighting your bindings.
Official page: MX Bikes (mx-bikes.com)
Bind Steering, Rider Lean, and Shifting
Bike lean and rider lean are separate controls. Assign bike lean to the left stick and rider movement to the right stick, keeping throttle and braking on the triggers.
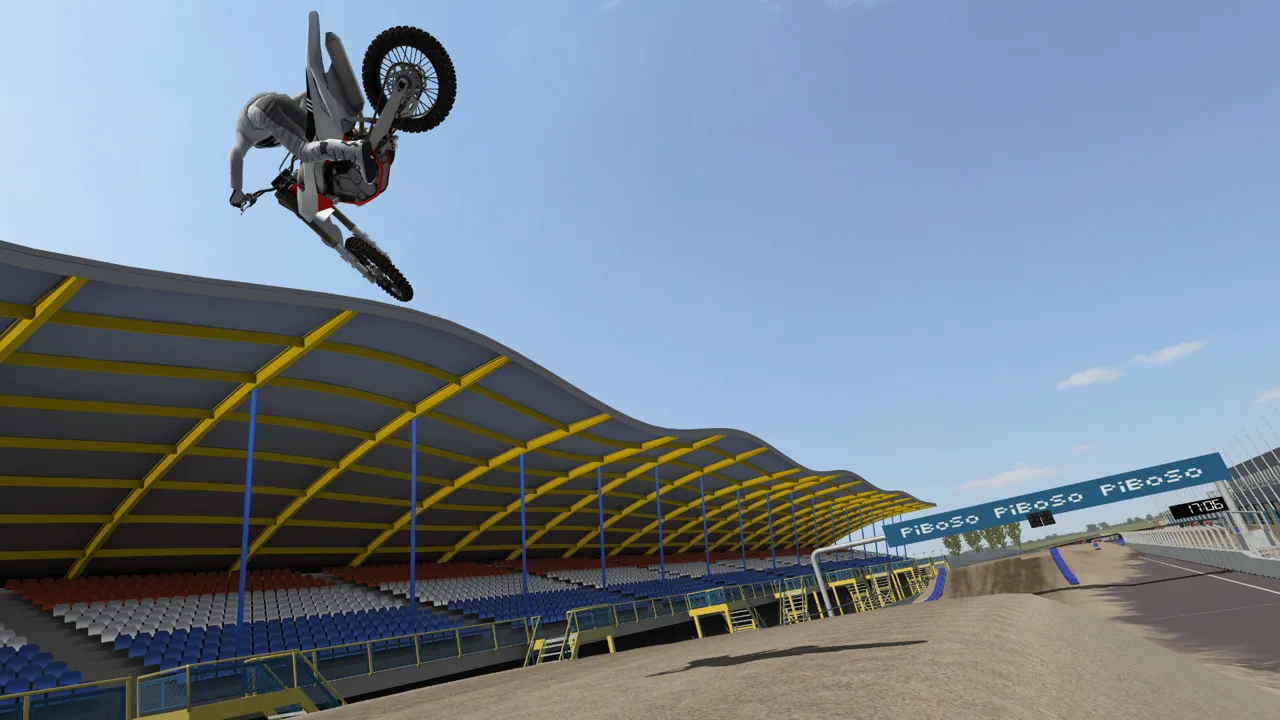 Image: Steam / PiBoSo
Pay attention to the direction used when assigning an axis:
- Bike lean: Move the left stick left when binding the lean axis. Check that moving left produces left input.
- Rider forward/back: Follow the prompt to lean the rider backward when assigning the axis.
- Rider left/right: Follow the prompt to lean the rider left.
- Throttle: Assign it to the right trigger.
- Combined brakes: Assign them to the left trigger.
Watch the input indicator after binding each axis. Fix an inverted assignment before heading onto the track.
Keep Your Thumbs on the Sticks
Put shift up and shift down on accessible bumpers or paddles if your controller allows it. Taking your thumb off rider lean to shift interrupts your control through a corner.
Give sitting an equally accessible binding. A paddle keeps it separate from steering; clicking a stick is another option, but check whether you accidentally activate it while leaning.
Assign a clutch button you can reach comfortably.
Tune Steering Response Before Adding Speed
For a beta19-era starting profile, try the values below. Adjust them to your controller and riding style, especially when using a different game or bike version.
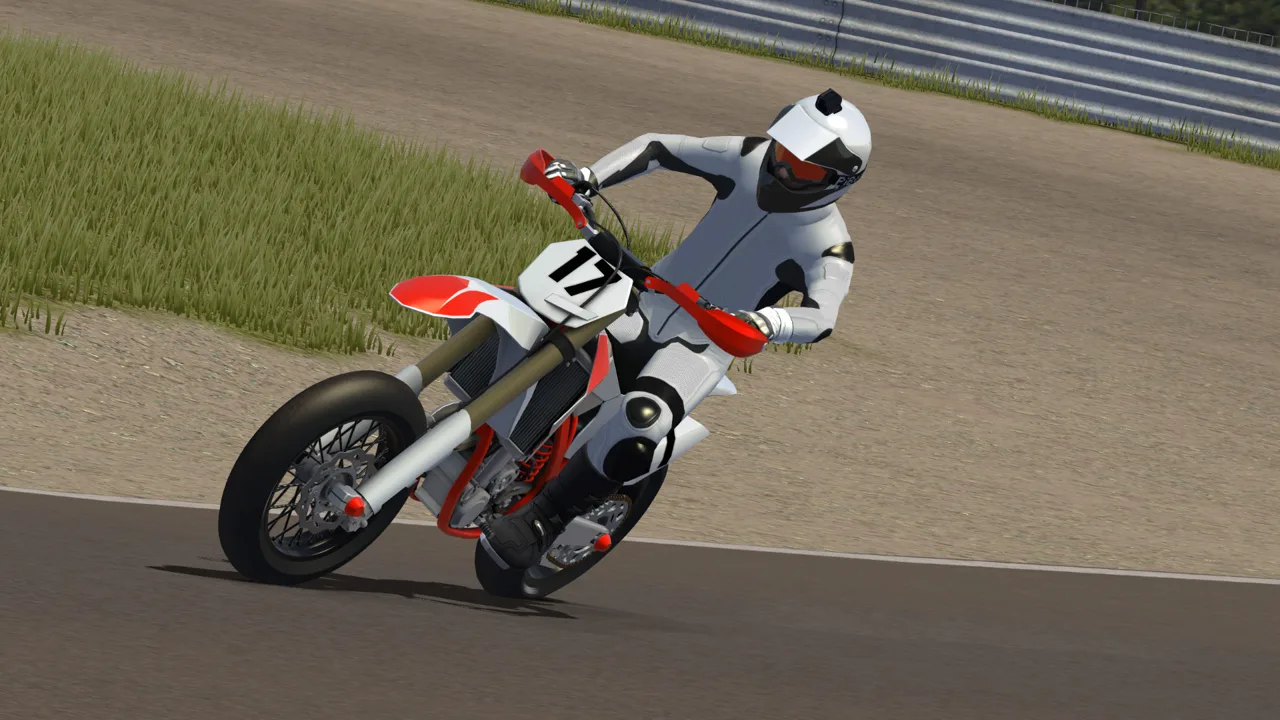 Image: Steam / PiBoSo
| Setting | Starting value | What to adjust for |
|---|---|---|
| Direct lean | 72% | How quickly the bike returns toward upright after releasing the lean stick |
| Lean dead zone | 3 | Small unintended inputs near the stick’s center |
| Lean linearity | 148% | A less sensitive response around the center |
| Lean smoothing: press | 5 | A little progression when applying lean |
| Lean smoothing: release | 5 | A little progression when releasing lean |
| Lean gain | 97–100% | Steering input range without the more aggressive response of higher gain |
Direct Lean
Start within the suggested beginner range of 60–100%. Higher values make the bike stand up more quickly when you release the stick; lower values let it remain leaned over longer.
For motocross, experiment around 70–80%. For supercross, try moving higher if you want a quicker return toward upright between turns.
Change this setting separately from smoothing. Both affect how steering feels, but changing them together makes it harder to identify the useful adjustment.
Dead Zone, Linearity, and Smoothing
Use enough dead zone to eliminate stick drift. Increase it if the input indicator moves while your hands are off the controller.
Linearity changes how the stick responds through its travel. Try the starting value if small corrections feel too abrupt near the center.
Enable smoothing for both press and release. Higher smoothing values slow the input transition, so increase them carefully: a calmer response still needs to let you turn when the track demands it.
Keep gain near the suggested range while learning. Raising it substantially makes full steering input arrive earlier in the stick’s travel and can make cornering harder to manage.
Control Braking and Throttle
Combined brakes put front and rear braking on one input. Start there if you want fewer controls to manage, then decide whether you want a separate rear-brake binding.
 Image: Steam / PiBoSo
For the beta19-era profile, 79% brake gain is a starting point for reducing maximum brake input. Pair it with brake help if abrupt braking repeatedly causes skids. Keep practicing progressive trigger pressure; assistance does not make every braking mistake harmless.
Leave throttle response at its default initially. If you repeatedly lose the rear wheel when accelerating out of corners, try throttle smoothing with press set to 20, then test the same corner again.
Match those settings with deliberate rider movement:
- Lean forward and apply throttle gradually when pulling away.
- Move your weight rearward under hard braking.
- Avoid grabbing a large amount of throttle while still struggling to settle the bike in a corner.
Keep the adjustment that improves repeated corner exits, not just the one attempt where everything lines up.
Set Rider Aids and Camera for Clear Feedback
Automatic clutch helps keep the bike running after a crash. Enable it if restarting a stalled bike is interrupting your practice.
Brake help assists with avoiding wheel lockup. Use it while developing trigger control, then reassess it once your braking becomes consistent.
Automatic forward/back and left/right rider lean reduce the movement you must manage manually. Choose whether to use them before practicing body-position techniques: manual rider control gives you responsibility for those movements.
Automatic rider dab puts a leg out at low speed to help prevent tipping. Try it during slow practice, and pay attention to whether its intervention suits your cornering.
Enable automatic tire change if you want fresh tires whenever you return to the pits.
First-Person Camera Starting Points
Try these camera values if you want a concrete starting position:
- Field of view: 115
- Tilt: 5%
- Pitch: 30
- Corner anticipation: Off
Tilt adds head rotation as the bike leans. Keep it modest if extra camera movement makes corners harder to read.
Pitch changes how far down the rider looks. Increase pitch if you want a clearer view of nearby ruts and corner entries.
Enable Show Rider Stand to see the sitting and standing indicator. For online riding, set flags to Both so you receive the trackside and on-screen signals.
If you are comparing setup numbers displayed in different units, change the metric, US, or UK selection under Miscellaneous before copying them.
Practice Corners and Jumps With Repeatable Inputs
Use Testing to isolate the section causing trouble. Position the bike where you want to restart, then hold your assigned track marker button to set the practice point.
Corners
Practice standing on straights and sitting for corners, then standing again on exit. Keep that sequence deliberate until you stop thinking about the button.
With manual rider lean enabled, try leaning forward and moving the rider opposite the bike’s turning direction. This outside-peg weighting technique gives you a specific body-position pattern to practice through the turn.
Make small corrections rather than repeatedly snapping between large inputs.
Jumps
Practice approaching a manageable jump while standing. Try leaning forward on the approach, easing off the throttle at the lip, and applying throttle again near landing. Adjust the timing to the jump’s shape and your approach speed.
Throttle, rear-wheel braking, and rider lean all affect airborne pitch. Applying throttle can raise the front; a brake tap can bring it down. Use small corrections while learning how those inputs interact.
Repeat the same jump from your track marker until the takeoff and landing become predictable. Then carry that control into a full lap without changing the setup again.
Continue with
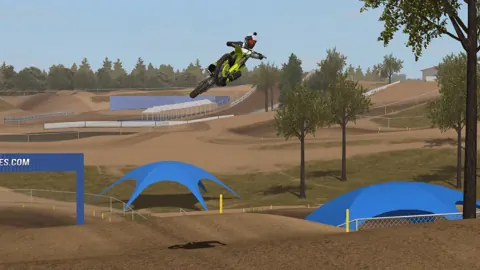 MX Bikes Controller Settings: Smooth Inputs and ControlTune MX Bikes controller settings for smoother lean, braking, and throttle response. Set up your gamepad, fix inverted inputs, and build control on track.
Continue exploring
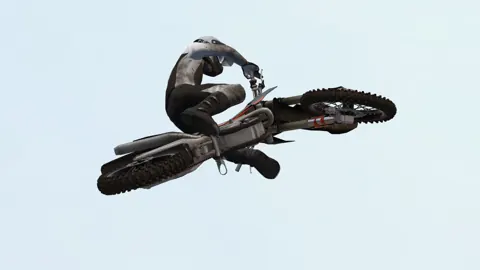
MX Bikes Beginner Guide: Ride Faster With Fewer Crashes
MX Bikes beginner guide covers controller setup, cornering, braking, jumps, and mods. Learn to ride smoother, avoid crashes, and build consistent speed.
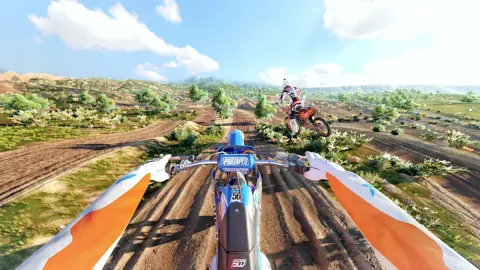
MX Bikes Discord: Find Mod Help and Online Race Tips
Find your way around MX Bikes Discord communities, get Project OEM mod support, and learn what to ask before joining online races or changing your setup.
Join the community
Official channels for news, updates and player help: