Early access · Release date: October 7, 2019
UpdatedMX Bikes Mods: Install OEM Bikes, Tracks, and Gear
Install MX Bikes mods with clear steps for OEM bikes, tires, tracks, rider gear, and Max HUD. Learn the folder paths and fix common setup mistakes on PC.
Jump to
How to Install Bikes, Tracks, and Gear
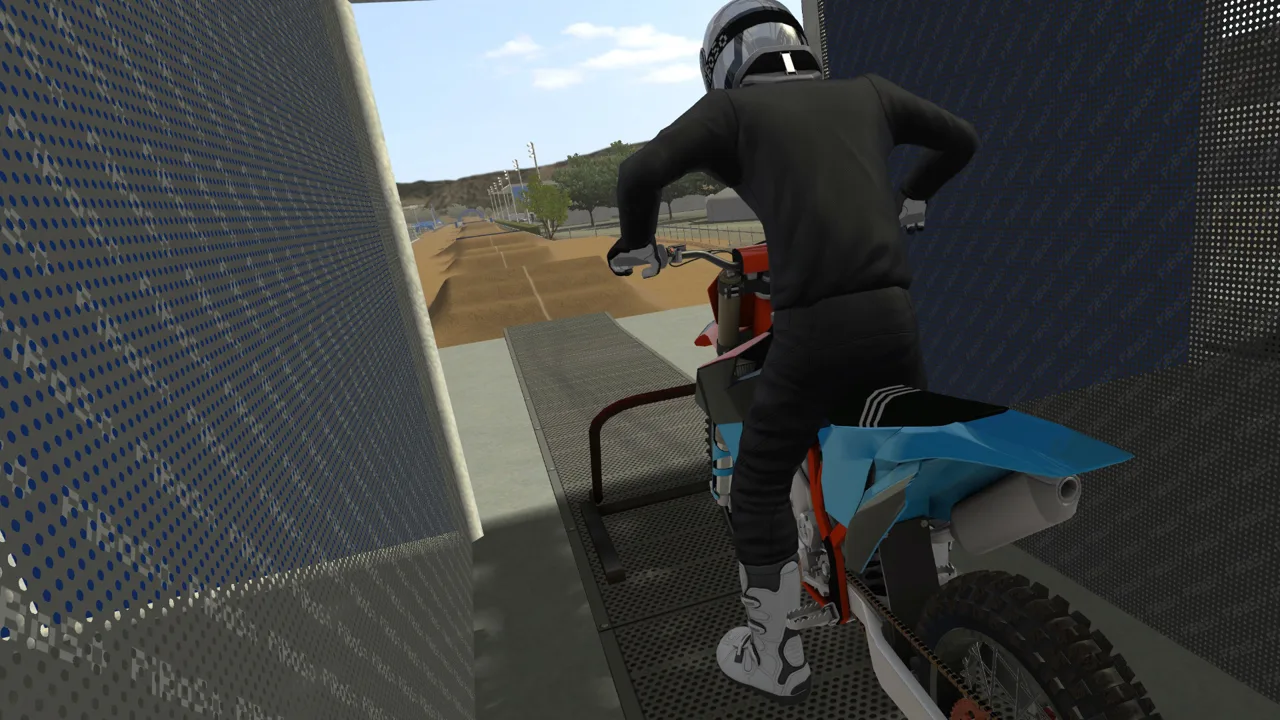
MX Bikes mods let you replace the stock look with custom bikes, riding gear, and tracks. Getting the files into the right folders matters just as much as downloading them, especially when an online server requires particular content. Start with the OEM Motocross pack and a track, then add cosmetics and utilities.
Most custom content belongs in your Windows Documents folder:
Documents\PiBoSo\MX Bikes\mods
Open Documents through File Explorer and find the PiBoSo folder. If you cannot locate it, search Windows for “PiBoSo.” Use this content folder for bikes, tires, tracks, and rider equipment; Max HUD uses a separate installation location.
Before copying anything:
- Install an archive utility such as WinRAR to open compressed downloads.
- Read the package’s installation instructions and dependency requirements.
- Open the archive and inspect its contents before dragging files across.
- Match the folders inside the download to the corresponding folders inside
mods.
Watch for extra folder layers. If an archive opens to mods, then bikes and tyres, copy those contents into their matching destinations. Dropping the entire download folder inside bikes creates an extra layer instead of the intended structure.
Official page: MX Bikes (mx-bikes.com)
Install the OEM Motocross Pack, Including Tires
The OEM Motocross pack adds bikes from manufacturers such as Yamaha and Honda. It is also a common requirement for organized racing and online sessions, so install the version required by the server or event you want to join.
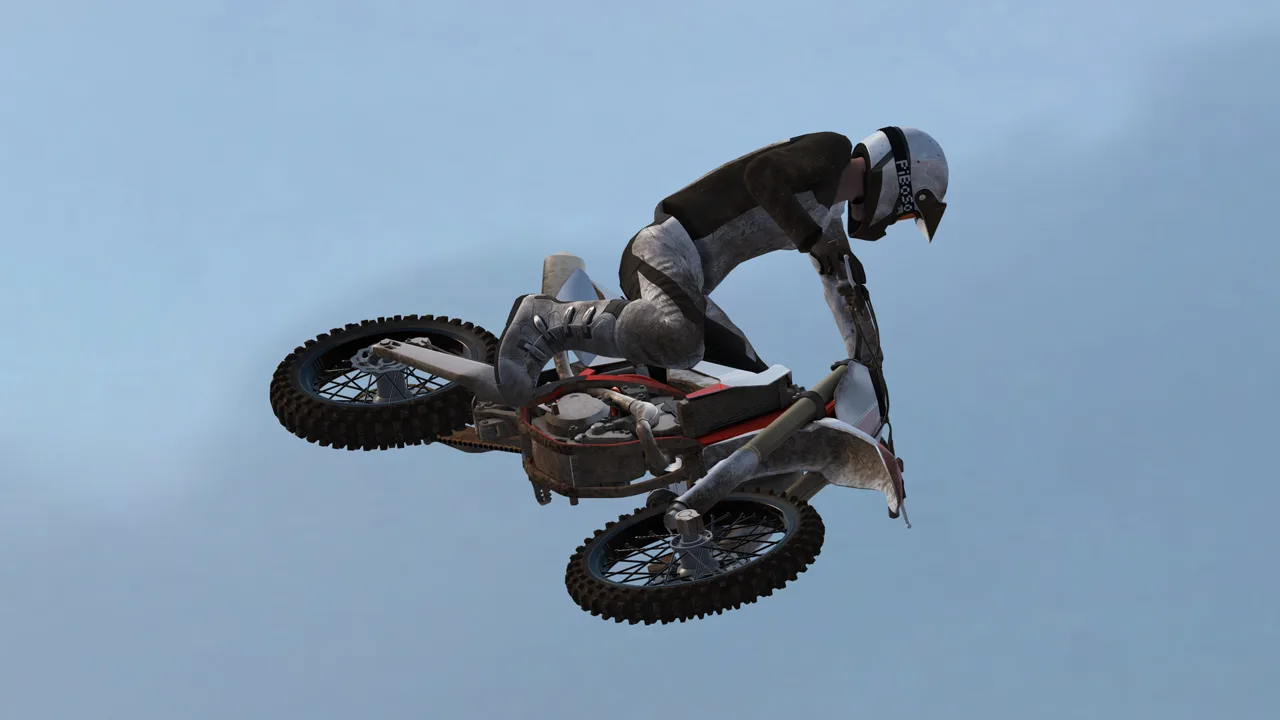 Image: Steam / PiBoSo
For a first installation, choose the complete pack rather than a patch intended for an existing installation.
- Download and open the full OEM Motocross package.
- Locate its
bikescontents. - Copy those files and folders into
mods\bikes. - Return to the package and open
tyres. - Copy those contents into
mods\tyres.
Do not stop after copying the bikes. The tire files are a separate part of the installation.
Keep these game changes in mind when choosing compatible content:
- The June 10, 2026 beta21e update added tire selection support.
- That update also included fixes for terrain deformation and harsh multiplayer collisions.
Use the pack’s installation instructions alongside its version requirements. An older tutorial’s download buttons, patch choices, and bike selection screens should not determine which release you install.
Add Custom Motocross Tracks
Custom tracks go into the tracks section of your content directory. For a motocross download, the destination used in the beginner installation walkthrough is:
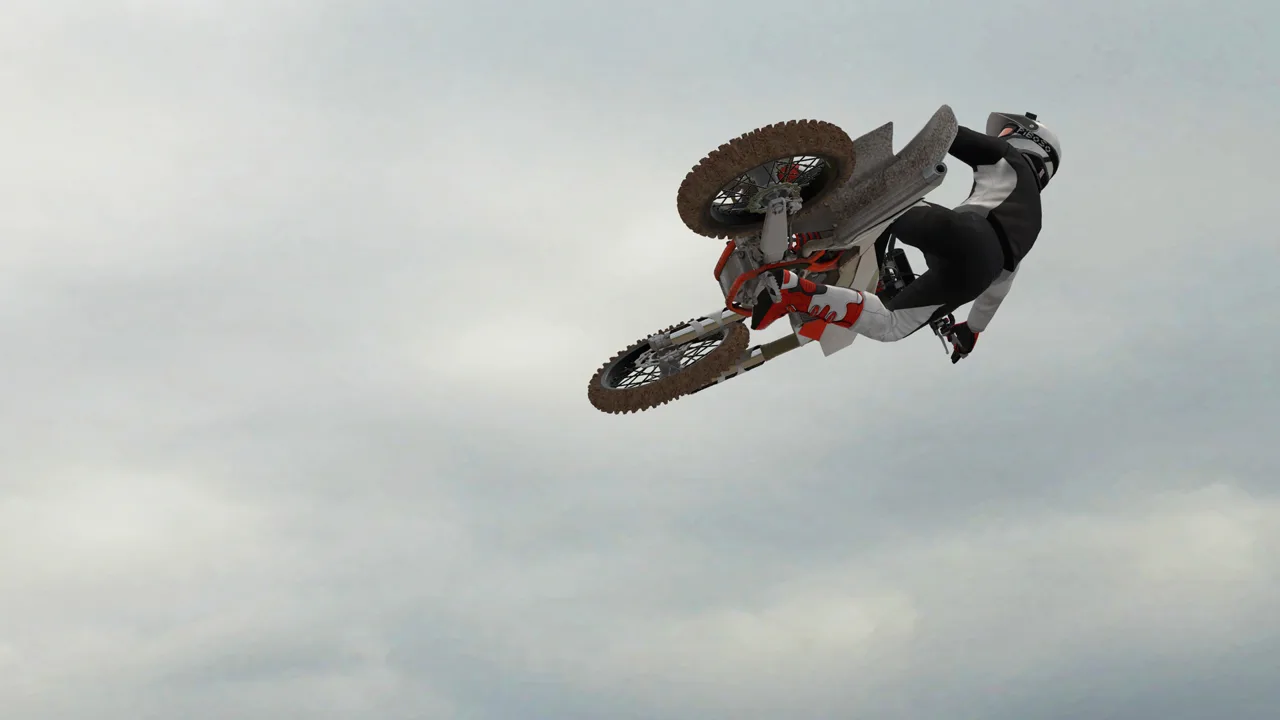 Image: Steam / PiBoSo
Documents\PiBoSo\MX Bikes\mods\tracks\motocross
Open the download first. If it contains a track package, copy that package into the destination. If it contains folders, preserve the track’s intended structure rather than adding an outer download folder.
Paleta V2 is one track to try when building a beginner collection. Farm 14 and Walnut are other beginner suggestions. Choose a track you want to practice or one required by a server you plan to join.
Pay attention to filenames. Repeated downloads can cause Windows to append a suffix such as (3). Compare the downloaded name with the original package name and remove an automatically added duplicate suffix before installing it. Preserve the file extension.
After installation, find the track in the game’s track selection menu. For online riding, match the server’s required track and version.
Install Bike Skins and Rider Equipment
Cosmetic downloads fall into two different groups: models and paints. A helmet model adds the helmet itself; a helmet paint changes the appearance of that model. Bike graphics likewise belong to a specific bike.
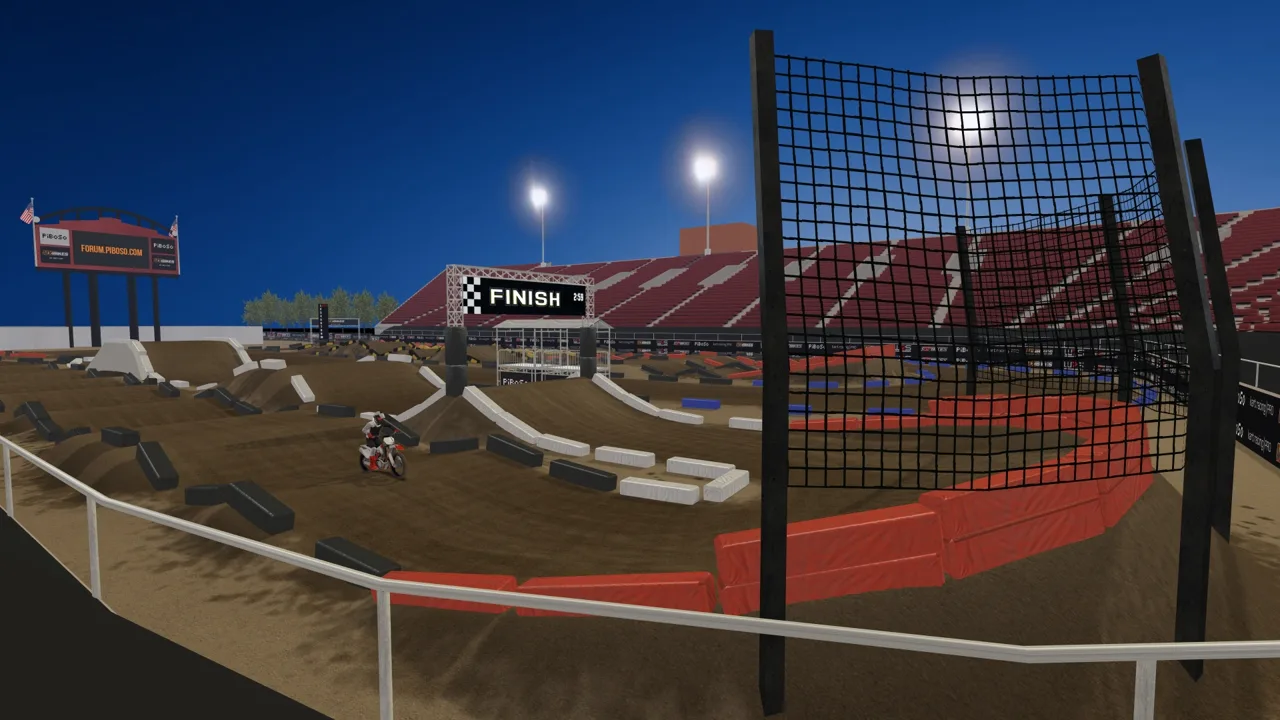 Image: Steam / PiBoSo
Bike graphics
Bike paints use .pnt files and belong in the matching bike’s paints folder.
- Open the graphics download.
- Find the actual
.pntfiles inside it. - Open
mods\bikes. - Locate the exact bike the graphics were made for.
- Place the files in that bike’s
paintsfolder.
For example, graphics made for a Fantic 450 belong with that bike. Copy the paint files themselves rather than an outer folder containing them.
Jerseys and pants
For gear made for the default MX rider, place the paint files in:
mods\rider\riders\defaultMX\paints
Check which rider model the download requires before installing it. Gear intended for a different model needs that model’s corresponding paint location.
Boots and helmets
Boot models belong in mods\rider\boots. Helmet models belong in mods\rider\helmets.
These downloads can contain a .pkz package, accompanying folders, or both. Keep all components from the download together in the appropriate destination. A helmet download, for example, can include a model package alongside a folder containing goggles and paints.
Additional helmet or goggle paints belong in the corresponding folders for that model. Once installed, select the equipment and paint in the game’s customization menus.
Add Max HUD and Optional ReShade Effects
Max HUD adds an overlay with information such as race position, a track map, remaining fuel, lean angle, and suspension data. Its installation differs from ordinary content because it is a plugin.
For the Steam installation, use the game’s plugins folder inside your Steam library:
steamapps\common\MX Bikes\plugins
Open the Max HUD download and read its included installation PDF. Copy the required plugin files and accompanying data folder into that location, preserving their structure. Do not put the package in the Documents mods folder.
Press Caps Lock in the game to open Max HUD’s settings and choose which displays to use.
ReShade is a separate visual customization option for changing the game’s color and presentation. Its setup involves more than copying a bike or track into Documents. Follow the installation instructions for the ReShade package you choose, and leave it until your bikes and tracks are working.
Fix Missing Content and Installation Problems
When something fails to appear, inspect the relevant installation instead of downloading everything again.
- A bike is missing: Check
mods\bikesfor an extra outer folder and confirm that you installed the full pack rather than only a patch. - An OEM installation is incomplete: Reopen the download and check that its
tyrescontents were also copied. - A bike skin is missing: Confirm that the
.pntfiles are inside the correct bike’spaintsfolder. - Gear or helmet paints are missing: Check that the matching rider or helmet model is installed and that the paints are in that model’s folders.
- A track is missing: Check its destination, folder structure, and original filename, including any duplicate-download suffix.
- Max HUD does not appear: Check the game installation’s
pluginsfolder, including the required data folder and plugin files.
For a crash after adding a bike pack, check the pack’s game-version requirements and installation instructions before replacing files. For a multiplayer content mismatch, compare your installed bike pack and track with the server’s requirements. Installing a paint changes the appearance of its matching model; it does not supply a missing bike or track.
Continue with
 MX Bikes Model Swap: Install Guide and Paint FixesInstall an MX Bikes model swap with the right bike folder, match paints and exhausts, and fix missing models or stretched graphics before your next ride.
Continue exploring
MX Bikes Discord: Find Mod Help and Online Race Tips
Find your way around MX Bikes Discord communities, get Project OEM mod support, and learn what to ask before joining online races or changing your setup.
MX Bikes Demo: Download, PC Requirements, and Setup
Try out the MX Bikes demo on Windows. Find the download, compare PC requirements, set up your controller, and learn smoother starts, corners, and jumps.
Join the community
Official channels for news, updates and player help: