Early access · Release date: October 7, 2019
UpdatedMX Bikes Model Swap: Install Guide and Paint Fixes
Install an MX Bikes model swap with the right bike folder, match paints and exhausts, and fix missing models or stretched graphics before your next ride.
Jump to
How to Install a Model Swap in MX Bikes
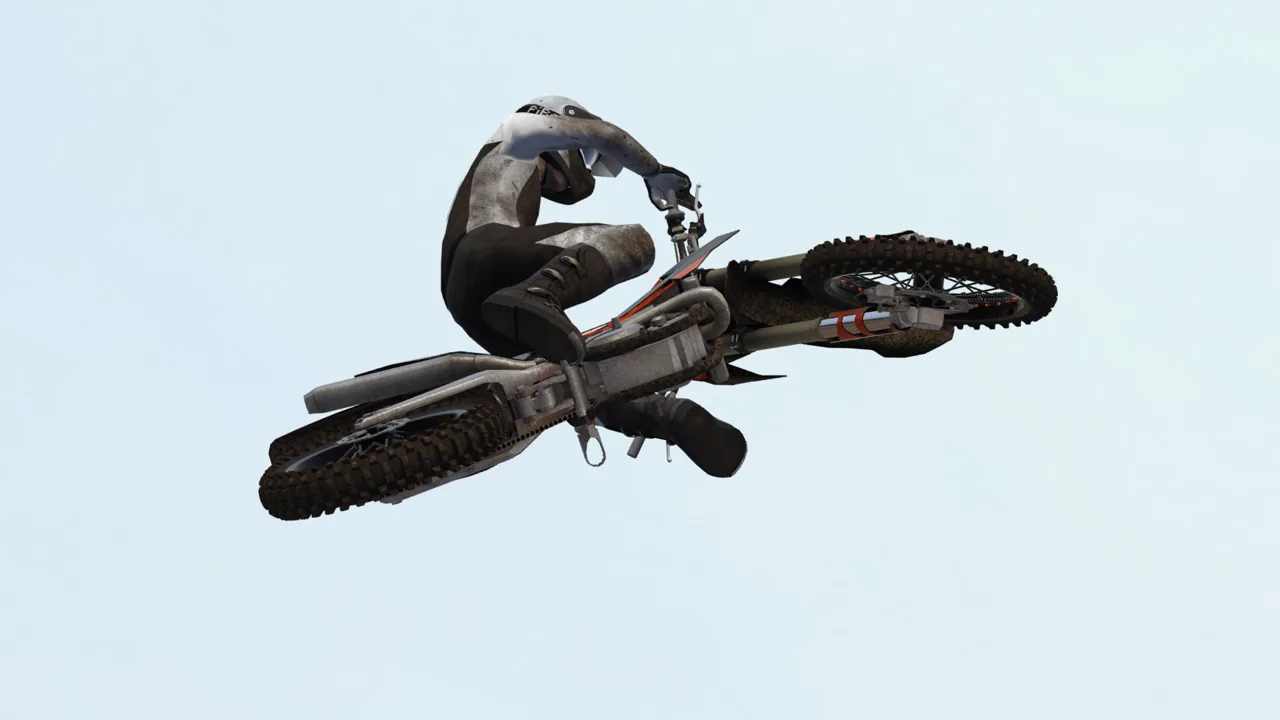
An MX Bikes model swap lets you change your bike’s appearance, from its exhaust and handlebars to its bodywork. The underlying bike retains its handling and physics, so you can customize the look while keeping a familiar ride. Installation comes down to choosing a compatible download, putting its model file in the correct bike folder, and matching it with a suitable paint.
These instructions are for the Windows game, which supports custom bike paints and imported bike models.
1. Match the download to your installed bike
Read the download’s compatibility information before extracting anything. Check the required bike pack, model year, engine type, and displacement.
OEM, factory, and A-kit bikes use different models. A paint or swap made for one of those families needs the corresponding base bike.
Also check which bike the swap installs onto. A Honda-looking model built for an OEM Yamaha belongs in the specified Yamaha folder.
2. Extract the downloaded archive
For a ZIP download, right-click the archive and select Extract All in Windows.
Open the extracted folders and choose the configuration you want. A pack can contain several combinations of exhausts, handlebars, levers, and handguards. Preview JPGs help you identify those combinations; the actual model file is what you install.
3. Open your active bike mods directory
Navigate to:
Documents\PiBoSo\MX Bikes\mods\bikes
Use the Documents location your game actually reads. If you have both local and OneDrive Documents folders, check that you are working in the active game directory before copying files.
Inside bikes, locate the folder for the required base bike.
If that folder is missing, load the bike in a test session and check again. Alternatively, find the matching bike’s .pkz file and create a folder with exactly the same name, leaving off .pkz.
Keep the existing .pkz file intact. It contains the base bike’s data.
4. Copy the selected model file
Place the chosen model file directly inside that bike’s folder. Keep its supplied filename.
Use this layout to separate the files:
| File | Where it belongs |
|---|---|
| Selected model file | Directly inside the matching bike folder |
| Compatible bike paint | Inside that bike folder’s paints subfolder |
| Preview JPG | Keep outside the installation; use it to identify the appearance |
Back up an existing custom model file before replacing it. Choose one configuration from the pack when its variants use the same destination filename.
5. Restart and inspect the bike
Fully restart MX Bikes after replacing the model file. Select the correct bike category, choose the base bike, and inspect its appearance.
Check both the exterior and cockpit view. Handguards, bar pads, and handlebars can make a noticeable difference from the riding position.
Official page: MX Bikes (mx-bikes.com)
Choose the Correct Base Bike and Displacement
The appearance shown in a download’s title can differ from the bike it requires. A swap can give an OEM Yamaha the appearance of a Honda, Suzuki, or another brand while retaining the Yamaha’s underlying physics.
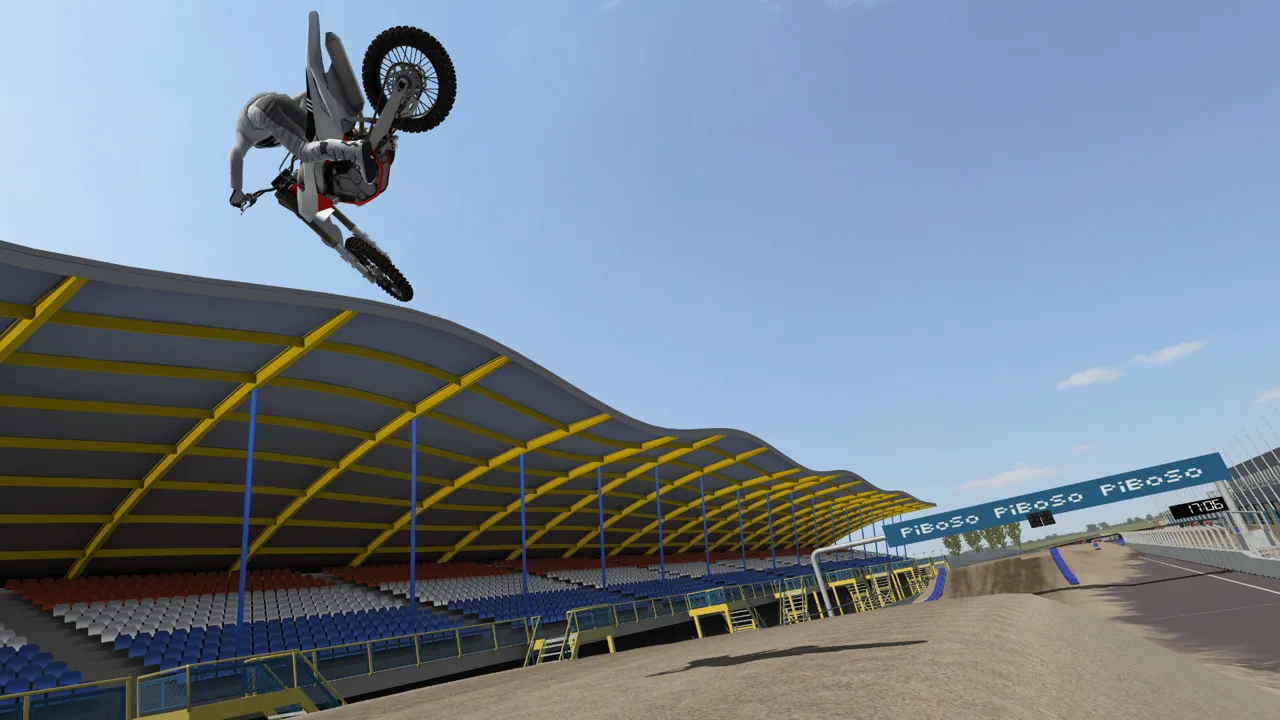 Image: Steam / PiBoSo
Follow the required base-bike designation when choosing the installation folder. Labels such as OEM YZF and OEM KTM identify different installation targets, even when the finished bikes look similar.
Before installing, check:
- Bike family: OEM, factory, or A-kit.
- Required base bike: The bike receiving the replacement model.
- Model year: The year supported by the download.
- Engine type: Two-stroke or four-stroke.
- Displacement: Whether the file supports the 250, 450, or separate versions.
- Paint requirements: The model and component configuration the graphics were designed around.
Some downloads support both 250 and 450 bikes, but that compatibility belongs to the individual pack. For example, the 2024 Yamaha YZ250F and YZ450F share a model in the installation example, allowing the featured livery to support both. The broad OEM swap pack featured in the material uses separate Fantic 250 and 450 models.
Use the compatibility instructions packaged with your chosen download instead of transferring a file between displacements by assumption.
Match Bike Paints to the Model and Exhaust
A model swap changes the bike’s visible geometry. A paint supplies its graphics. Both need to match for the finished bike to look right.
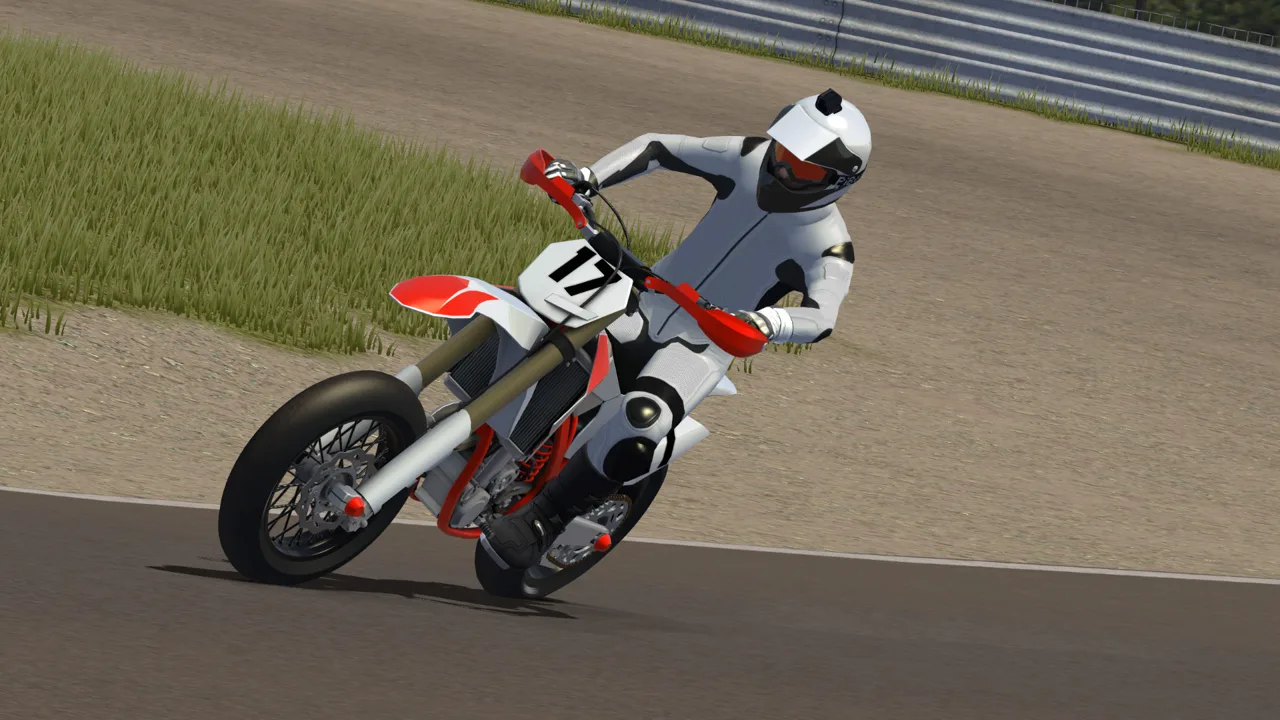 Image: Steam / PiBoSo
To install a compatible paint:
- Open the folder for the required base bike.
- Create a subfolder named exactly
paintsif it is missing. - Copy the downloaded paint file into that folder.
- Launch MX Bikes and select the matching bike.
- Open Bike Paint and select the installed design.
The displayed paint name can differ from its filename, so inspect the available designs before deciding that an installation failed.
Why exhaust graphics can look wrong
Exhaust variants can use different areas of a paint’s texture layout. Pairing an FMF model with graphics designed around an Akrapovic exhaust can leave the pipe looking incorrect.
Match the exhaust configuration to the paint’s requirements. If your paint is designed for an Akrapovic-equipped model, select that model variant and replace the current custom model file. Restart the game to load the change.
Apply the same compatibility check to other component options named in the download. Selecting a paint by bike brand alone can miss a requirement for a specific model or parts combination.
What to Look for in Free and Paid Downloads
Free downloads include broad OEM packs and individual bike swaps. Available configurations include different exhausts, handlebars, and versions with or without handguards.
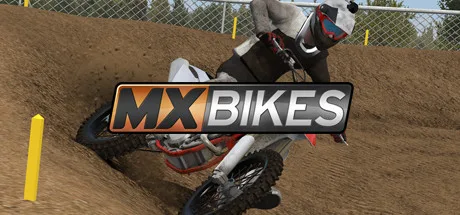 Image: Steam / PiBoSo
Paid packs also offer component combinations, with some including a PSD painting template or offering it as an additional option.
Choose a download around the setup you want to build:
- Pick the handguard configuration you want to see from the cockpit.
- Match the exhaust variant to your preferred graphics.
- Check whether compatible paints are included or installed separately.
- Look for a PSD option if you plan to create your own graphics.
- Confirm the required base bike before purchasing a model with another brand’s appearance.
Check compatibility again after updating your base bike pack. Older OEM swaps have needed fixes following OEM updates, including changes affecting Austrian bikes. A download that worked with an earlier pack needs to match the bike version you are using now.
Fix Missing Models and Incorrect Graphics
Work through the installation details before replacing unrelated files.
| Problem | What to check |
|---|---|
| The bike still has its previous appearance | Confirm the model file is directly inside the correct bike folder, then fully restart the game. |
| The paint does not appear in Bike Paint | Check the bike selection, the paints folder, and the paint’s displayed name. |
| Exhaust graphics look misplaced | Match the paint to the installed exhaust variant. |
| A swap was copied into a folder for the brand it resembles | Check the required base bike and use that bike’s folder. |
| No matching bike folder exists | Load the bike in Testing, or create a folder matching its .pkz filename without the extension. |
| A previously working swap has problems after an OEM update | Use a swap version compatible with the updated base bike. |
If you want to return to your previous custom setup, restore the model file you backed up and restart MX Bikes. Keep the base bike’s .pkz untouched while changing visual configurations.
Continue with
 MX Bikes Mods: Install OEM Bikes, Tracks, and GearInstall MX Bikes mods with clear steps for OEM bikes, tires, tracks, rider gear, and Max HUD. Learn the folder paths and fix common setup mistakes on PC.
Popular pages
MX Bikes Beginner Guide: Ride Faster With Fewer Crashes
MX Bikes beginner guide covers controller setup, cornering, braking, jumps, and mods. Learn to ride smoother, avoid crashes, and build consistent speed.
MX Bikes Account: Sign Up for Mods and Online Racing
Set up your MX Bikes account for mod access and championship sign-ups. Learn which login to use, how to confirm your email, and how to register for races.
MX Bikes Map Mod: How to Install Tracks and Freeride
Find an MX Bikes map mod, install custom tracks in the right folder, and fix loading issues. Explore motocross layouts, compounds, and freeride terrain.
MX Bikes Demo: Download, PC Requirements, and Setup
Try out the MX Bikes demo on Windows. Find the download, compare PC requirements, set up your controller, and learn smoother starts, corners, and jumps.
Join the community
Official channels for news, updates and player help: