Early access · Release date: October 7, 2019
UpdatedMX Bikes VR Setup Guide: Controls, Settings, and Tips
Set up MX Bikes VR with launch options, controller tips, camera recenter steps, and graphics tweaks to get comfortable before tackling jumps and ruts.
Jump to
Does MX Bikes Support VR?
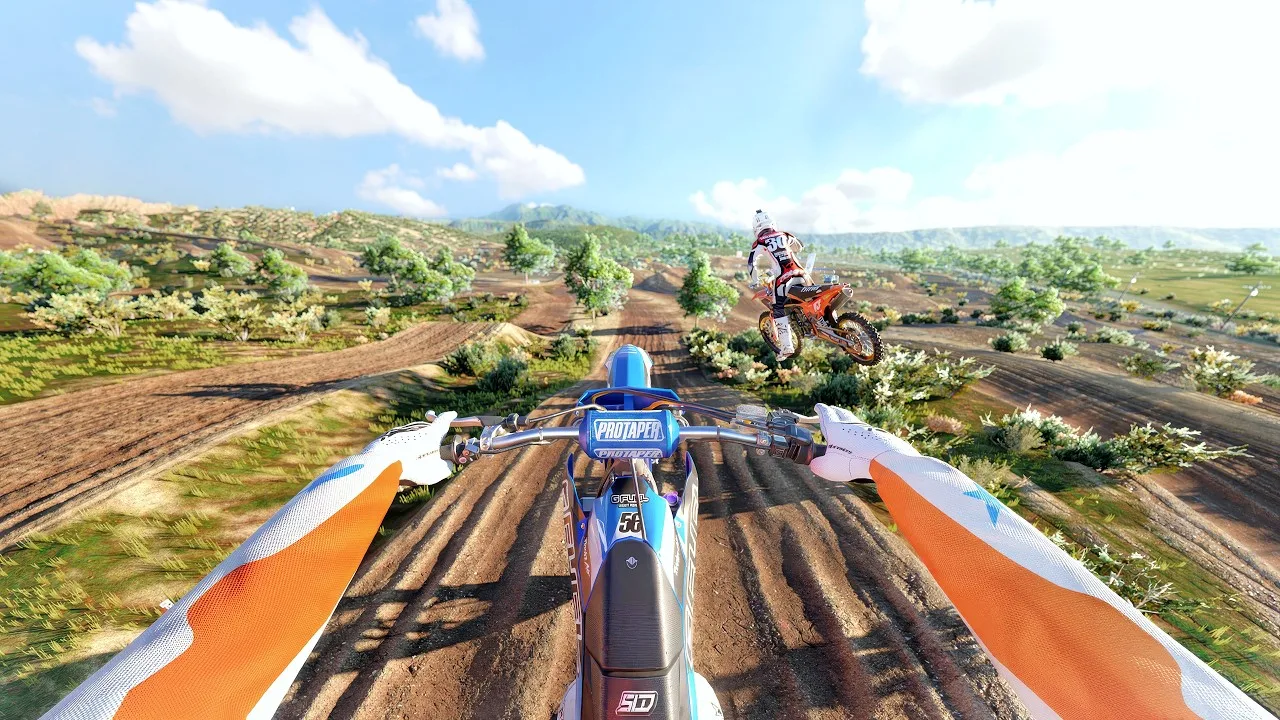
MX Bikes VR puts you over the handlebars, letting you turn your head through corners and look toward your landing. The Windows simulator supports native Oculus Rift and SteamVR headsets, including HTC Vive and Valve Index. Centering your view and getting smooth performance are the first steps toward making those jumps feel manageable.
You can ride with a headset and a conventional gamepad. Keep your steering, throttle, braking, and rider inputs on familiar controls while you adjust to looking around independently.
The game includes solo riding, online racing, and LAN multiplayer, but it has no AI opponents or career mode. Start with practice laps before taking your headset into an online race.
Official page: MX Bikes (mx-bikes.com)
How to Launch and Center Your Headset
The installation can create a desktop shortcut named MX Bikes - VR. Use that shortcut to start your VR session.
If both a Rift and a Vive are installed on the same PC, these launch switches select the VR system:
-vroforces Oculus.-vrsforces SteamVR.
Before leaving the pits, center the camera from your normal riding position:
- Sit comfortably with your controller within reach.
- Look straight ahead.
- Press F8, the default VR Reset binding.
- Check your position relative to the handlebars before riding.
Look under Settings > Input 3 for the VR Reset assignment if the key does nothing. Keep that control accessible so you can recenter without searching through menus.
If the Windows taskbar blocks the bottom of the game interface, right-click the desktop shortcut, open Properties, and select Run Maximized.
Graphics Settings and VR Performance
Prioritize a smooth view before increasing visual detail. Terrain, track complexity, and plugins can make a session more demanding than a simple practice run.
The listed minimum VR hardware is:
- CPU: Intel Core i5-4590 or AMD FX 8350, or better.
- GPU: GeForce GTX 970 or AMD Radeon R9 290, or better.
Use those specifications as minimum requirements rather than a promise of smooth performance on every modded track.
For choppy riding, start with the settings that directly affect the scene:
- Disable 3D grass.
- Lower Antialiasing.
- Lower Anisotropic textures.
- Reduce graphics settings further if the view still stutters.
- Test on a base-game track before loading a demanding custom compound.
Adjust settings between practice runs so you can judge their effect. Keep recording software and optional plugins out of your initial setup if you are also troubleshooting crashes.
Adjusting to Corners, Jumps, and Supercross
A familiar track can feel surprisingly different inside a headset. Switching from a wide monitor field of view changes the framing, and jump faces can feel much steeper. Give yourself room to relearn speed and distance.
Look Through the Corner
Turn your head toward the corner exit instead of staring at the front fender. Keep your attention farther along the rut as you approach and follow it through the turn.
Practice on a track you already know. Familiar braking points and controller inputs let you focus on head movement without learning an entirely new layout.
Build Up to Rhythm Sections
Start with open motocross laps before tackling tight Supercross rhythms. Repeated jumps demand precise throttle control, and overshooting one landing can disrupt the whole section.
Take doubles and singles while you learn the spacing. Add triples once you can consistently judge the approach and landing. If you keep overjumping on a 450, try a 250 while you work on throttle control.
Beta21e, released June 10, 2026, added an overjump crash option and fixed terrain deformation. Check that option when setting up your practice session.
Keep Early Sessions Comfortable
Begin with short runs and stop if you feel nauseated. Slow riding, crashes, and tight rhythm sections can still be uncomfortable even when an earlier lap felt fine.
Get comfortable looking ahead before turning your head to admire whips or glance behind. Those extra movements can wait until keeping the bike on line feels natural.
Change the Desktop Mirror and World Scale
The desktop window mirrors both eyes by default. You can change that view through a configuration file in the game’s installation folder:
- Use
oculus.inifor Oculus. - Use
openvr.inifor SteamVR.
Add a [mirror] section, then put the desired eye setting on the next line.
| Desktop mirror view | Setting |
|---|---|
| Disabled | eye = -1 |
| Left eye | eye = 0 |
| Right eye | eye = 1 |
| Both eyes | eye = 2 |
For example, use [mirror] followed by eye = 1 to display the right eye on your monitor.
Save the file as plain text with the actual .ini extension. Enable filename extensions in Windows Explorer and check that you have not created openvr.ini.txt or oculus.ini.txt.
On Oculus, adding post = 1 under [mirror] displays the barrel-distorted render in the desktop window.
SteamVR also supports a world-scale adjustment in openvr.ini: add an [ipd] section with scale = 0.9 on the following line. That value is a configuration example, not a required setup step; use the setting specifically to adjust perceived world scale.
Fix Black Screens, Loading Failures, and Crashes
Troubleshoot one change at a time so you can identify what actually fixes the problem.
- The camera is too high or too far forward: Sit in your riding position and use VR Reset.
- The game fails to launch: Restart your PC, then verify the game files through Steam’s Properties > Installed Files > Verify integrity.
- A modded track crashes while loading: Close background applications and test a base-game track. Large custom tracks can consume substantially more RAM.
- Problems started after installing plugins: Temporarily move third-party plugins out of the plugins folder, preserving the native game files. Restore the plugins individually after the game works.
- MaxHUD causes a startup crash or frozen black screen: Check its Microsoft Visual C++ Redistributable dependency, or temporarily remove MaxHUD to isolate the issue.
- The game crashes when leaving the pits: Select the bike’s default setup. Older saved setups can contain incompatible values.
If crashes persist, open Windows Logs > Application in Event Viewer and find the error matching the crash. Keep the Faulting module name, Exception code, headset model, and installed plugin details ready when asking for help.
Continue with
 MX Bikes Demo: Download, PC Requirements, and SetupTry out the MX Bikes demo on Windows. Find the download, compare PC requirements, set up your controller, and learn smoother starts, corners, and jumps.
More in Platforms
See all PlatformsContinue exploring
MX Bikes Discord: Find Mod Help and Online Race Tips
Find your way around MX Bikes Discord communities, get Project OEM mod support, and learn what to ask before joining online races or changing your setup.
MX Bikes Online Guide: Join Servers and Race Cleaner
Use this MX Bikes online guide to choose dedicated servers, prepare mods, dial in controller settings, and race cleaner with better lines and awareness.
Join the community
Official channels for news, updates and player help: