Early access · Release date: October 7, 2019
UpdatedMX Bikes Controller Settings: Smooth Inputs and Control
Tune MX Bikes controller settings for smoother lean, braking, and throttle response. Set up your gamepad, fix inverted inputs, and build control on track.
Jump to
Set Up Your Controller Layout
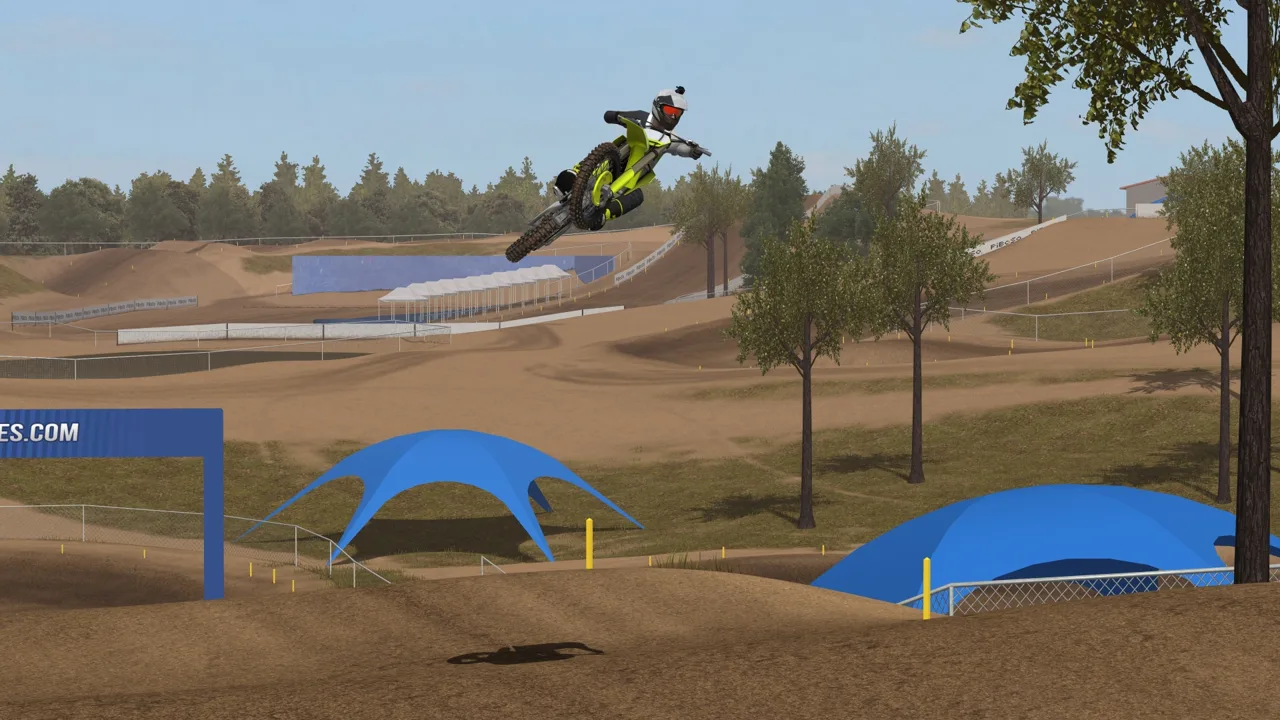
A twitchy stick can turn a small correction into a crash. Dialing in your MX Bikes controller settings gives you more usable control over lean, braking, and corner exits. Start with comfortable bindings, then adjust input response while watching the visualizer in Settings > Input.
Keep bike lean on one stick and rider movement on the other. These are separate controls: one leans the motorcycle, while the other moves the rider forward, backward, left, and right.
| Action | Suggested binding | Reason |
|---|---|---|
| Bike lean | Left stick | Keeps bike control under your left thumb |
| Rider lean, both axes | Right stick | Groups rider movement on one stick |
| Throttle | Right trigger | Allows progressive throttle input |
| Front brake with Combined Brakes enabled | Left trigger | Applies front and rear braking through one input |
| Shift up and shift down | Bumpers, if your layout allows | Lets you shift without releasing either stick |
| Clutch | Paddle, bumper, or accessible face button | Keeps the clutch within reach |
| Sit | Paddle or stick click | Allows posture changes while riding |
Check for conflicts before committing to a layout. If both bumpers handle shifting, put the clutch somewhere else.
Paddles are useful for clutch and sit because they keep your thumbs on the sticks. Stick clicks are an alternative, but check whether pressing them causes accidental steering or posture changes during corners.
Fix Inverted Axes Before Riding
When assigning bike lean, move the left stick left at the binding prompt. Then check the input visualizer: left stick movement should produce left lean.
For rider movement, follow the direction named in the assignment prompt. Use backward movement for Lean Rider Backwards and left movement for Lean Rider Left.
Do this before adjusting sensitivity. An inverted axis needs a binding correction, not a different response curve.
Official page: MX Bikes (mx-bikes.com)
Dial In Lean Response
Use these values as a starting point, then refine them on a familiar track. This combination comes from a setup discussed around beta19-era bikes; it is a tuning baseline rather than a preset specifically developed for beta21e.
| Setting | Starting value | What it changes |
|---|---|---|
| Direct Lean | 72% | How quickly the bike returns upright when you center the stick |
| Lean deadzone | 3 | Filters small inputs around the stick’s center |
| Lean linearity | 148% | Changes how stick movement translates into lean input |
| Smooth | Enabled | Allows progressive input application and release |
| Smooth press | 5% | Adds a small amount of smoothing when applying lean |
| Smooth release | 5% | Adds a small amount of smoothing when releasing lean |
| Lean gain | 97–100% | Controls the available lean input at full stick movement |
Direct Lean: Adjust How the Bike Stands Up
Higher Direct Lean makes the bike return upright faster when you release the stick. Lower values let it remain leaned over longer.
Start within 60–100% if you are learning. For motocross, try 70–80%; for supercross, experiment higher in the range when you want faster transitions back upright.
Keep Direct Lean separate from gain in your tuning. Direct Lean affects the return toward upright, while gain changes how much input you can command.
Deadzone: Remove Drift Without Losing Fine Control
Leave the stick untouched and watch the visualizer. Increase deadzone only enough to stop unwanted movement.
A deadzone of 3 is a useful starting point, but your controller’s resting input should determine the final value. A larger deadzone removes more movement near center, so avoid increasing it simply because the bike feels difficult.
Linearity, Smoothing, and Gain
Try linearity near 150%, then judge whether small corrections feel manageable through corners. Watch the visualizer while moving the stick slowly to understand how the response changes across its travel.
With smoothing enabled, higher press values slow input buildup, and higher release values slow its return. Keep both near 5% initially. Excessive smoothing can make a needed correction arrive too late.
Keep gain around 97–100% while learning. Lower gain sacrifices some maximum lean input for control. Values above 100% make full input arrive earlier in the stick’s travel, so reserve that experiment until you can consistently judge your lean.
Make Braking and Throttle Easier to Meter
Open each control’s advanced settings separately. Lean adjustments do not automatically give the throttle or brakes the same response.
Combined Brakes and Brake Gain
Enable Combined Brakes if you want one trigger to operate both brakes. You can still bind and use the rear brake independently.
Hold the brake trigger while adjusting the combined-brake sliders and watch the rear-brake output in the visualizer. Use that feedback to understand how much rear braking you are adding.
For brake gain, try 79% as a starting point if full trigger pressure regularly causes trouble. Reduced gain limits the commanded braking input, but it does not guarantee that the tires will never slide. Keep enough braking force to stop effectively.
Check the brake deadzone, too. With the trigger released, there should be no brake input.
Throttle Response
Start with the default throttle response and check that the released trigger produces no input.
If you repeatedly lose rear traction when accelerating out of corners, try enabling throttle Smooth and lowering press to around 20. This adjustment was suggested for beta19-era bikes to soften throttle application.
Test it through the same corner before making another change. Leave smoothing off if the default response already lets you feed in power comfortably.
Clutch Response
A clutch bound to a button has an abrupt physical input: pressed or released. Smoothing can make its in-game application more progressive.
Try that adjustment if you use the clutch frequently on corner exits. Watch the visualizer to see how quickly the clutch input builds, then check whether the response suits your timing.
Choose Riding Aids Deliberately
Open Settings > Simulation > Riding Aids and decide which tasks you want to handle yourself.
- Automatic Clutch: Enable it if you want to avoid restarting a stalled bike after crashes. Its purpose here is different from automatically operating the clutch for every shift.
- Brake Help: Try it alongside reduced brake gain if you struggle with skidding and wheel lock.
- Traction Help: Leave it off when practicing manual throttle control.
- Automatic rider forward/backward and left/right movement: Leave these off when learning to manage rider position with the right stick.
- Automatic Rider Dab: Try it if you want the rider to put a foot out for support at low speed.
When comparing lean-response settings, keep Lean Help consistent. Disabling it gives you a much wider lean range to manage with a small thumbstick movement.
Change aids individually so you can recognize what each one contributes.
Adjust the Camera So You Can Read Corners
Camera settings affect how easily you judge ruts, lean, and the track immediately ahead. For an onboard view, try:
- Field of view: 115
- Tilt: 5%
- Pitch: 30
- Corner Anticipation: Off
- Show Rider Stand: On
Tilt adds camera rotation as you lean through a corner. Keep it modest if stronger rotation makes the track harder to follow.
Pitch changes how far downward the rider looks. Try 20–40% to bring nearby ruts into view rather than keeping the camera aimed farther ahead. Start at 30 and adjust for visibility.
Enable Show Rider Stand to see the standing and sitting indicator. It helps you catch accidental sit inputs while evaluating a new button layout.
Test Changes on a Repeatable Section
Use Testing mode and keep the bike, track, and riding aids consistent while comparing settings. Focus on the specific problem you want to solve: unwanted input at rest, abrupt lean, slow corrections, or difficulty controlling braking.
Keep the game version in mind when comparing bike behavior. The June 10, 2026 beta21e update included:
- Fixes to terrain deformation and rider legs’ simulation.
- A fix for harsh multiplayer collisions.
For a repeatable practice point, bind Track Marker, position the bike where you want to restart, and hold the assigned button. In Testing, you will then respawn at that marker.
Use it before a troublesome corner or jump. Change one setting, repeat the section, and keep the adjustment only if it makes the bike easier to place consistently.
Continue with
 MX Bikes Setups Guide: Controller Settings That HelpUse this MX Bikes setups guide to tune controller inputs, braking, rider aids, and camera settings. Build smoother laps with focused beginner adjustments.
Continue exploring
MX Bikes Beginner Guide: Ride Faster With Fewer Crashes
MX Bikes beginner guide covers controller setup, cornering, braking, jumps, and mods. Learn to ride smoother, avoid crashes, and build consistent speed.
MX Bikes Discord: Find Mod Help and Online Race Tips
Find your way around MX Bikes Discord communities, get Project OEM mod support, and learn what to ask before joining online races or changing your setup.
Join the community
Official channels for news, updates and player help: